mysql8.0 ssl/tls登录形式
在 MySQL 8.0 中,你可以通过配置文件或客户端的默认设置来指定 --ssl-ca、--ssl-cert 和 --ssl-key 的默认值,这样在登录时就不需要每次都在命令行中手动传入这些参数。
env
- mysql.8.0.41 (ssl enable)
- ubuntu/jammy
1.什么是 SSL 和 TLS?
- SSL(Secure Sockets Layer):是一种加密协议,用于在客户端和服务器之间建立安全的通信通道。SSL 是 TLS 的前身,现在已被 TLS 取代。
- TLS(Transport Layer Security):是 SSL 的升级版,提供了更强的加密和安全性。MySQL 中提到的 “SSL” 通常实际上是指 TLS,只是沿用了历史术语。
在 MySQL 中,SSL/TLS 用于加密客户端和服务器之间的通信,防止数据被拦截或篡改,尤其是在公网环境下非常重要。
2.MySQL 中的 SSL/TLS 支持
MySQL 支持通过 SSL/TLS 加密连接。要启用它,通常需要:
- 服务器端配置好 SSL(证书和密钥)。
- 客户端提供相应的 SSL 文件(CA 证书、客户端证书和密钥)。
你的原始命令中使用了以下 SSL 相关选项:
--ssl-ca:指定证书颁发机构(CA)的证书。--ssl-cert:指定客户端证书。--ssl-key:指定客户端私钥。
SSL/TLS 相关选项说明
--ssl-mode选项:DISABLED:禁用 SSL。PREFERRED:尝试使用 SSL,但如果不可用则回退到未加密连接。REQUIRED:强制要求 SSL。VERIFY_CA:要求 SSL 并验证 CA 证书。VERIFY_IDENTITY:进一步验证服务器主机名(最高安全级别)。
- MySQL 默认使用 TLS 1.2 或更高版本(取决于编译时的 OpenSSL 版本)。
常见问题
服务器不支持 SSL/TLS?
- 检查服务器配置(
my.cnf中的ssl_ca、ssl_cert、ssl_key是否设置)。 - 运行
SHOW VARIABLES LIKE 'have_ssl';,如果值为NO,则服务器未启用 SSL。
- 检查服务器配置(
证书文件路径错误?
- 确保路径正确,且文件对当前用户有读取权限(
chmod 600)。
- 确保路径正确,且文件对当前用户有读取权限(
TLS 版本不匹配?
- 如果服务器要求更高版本的 TLS(例如 TLS 1.3),而客户端不支持,可以升级 MySQL 客户端或调整服务器配置。
3.显式
mysql -u username -p --host=your_host \
  --ssl-ca=/var/lib/mysql/ca.pem \
  --ssl-cert=/var/lib/mysql/client-cert.pem \
  --ssl-key=/var/lib/mysql/client-key.pem
4.隐式
方法 1: 修改 MySQL 客户端配置文件 (my.cnf 或 .my.cnf)
MySQL 允许你通过客户端配置文件设置默认的连接参数。配置文件通常位于以下位置之一:
- 全局配置文件:
/etc/mysql/my.cnf或/etc/my.cnf - 用户个人配置文件:
~/.my.cnf(位于用户主目录下)
打开或创建
~/.my.cnf文件(推荐使用用户级配置,避免影响全局设置)。1
vim ~/.my.cnf
在
[client]部分添加 SSL 相关参数:
[client]
ssl-ca=/path/to/ca.pem
ssl-cert=/path/to/client-cert.pem
ssl-key=/path/to/client-key.pem- 将路径替换为实际的证书文件路径。
- 可选:如果你需要连接特定主机,还可以添加
host=your_host。
保存并关闭文件。
设置文件权限,确保安全性(防止其他用户读取私钥):
1
2
chmod 600 ~/.my.cnf
systemctl restart mysql测试登录:
1
mysql -u username -p
MySQL 会自动使用
.my.cnf中指定的 SSL 参数。
方法 2: 使用 MySQL Config Editor (mysql_config_editor)
MySQL 提供了一个工具 mysql_config_editor,可以加密存储登录凭证,避免明文暴露在配置文件中。
mysql_config_editor 是用于创建和管理 MySQL 登录路径(login path)的工具,主要支持以下选项:
--login-path:指定登录路径名称-h或--host:指定主机-u或--user:指定用户名-p或--password:指定密码(会提示输入)-G或--socket:指定 Unix 套接字(对于本地连接)-P或--port:指定端口
它并不支持直接指定 SSL 相关的选项(例如 --ssl-ca、--ssl-cert、--ssl-key)。如果需要配置 SSL 连接,可以在以下两种方式中解决:
方法 1:仅使用 mysql_config_editor 配置基本登录信息,SSL 在客户端使用
将 mysql_config_editor 用于保存基本的连接信息(主机、用户、密码等),然后在实际连接时通过 mysql 客户端命令指定 SSL 参数。
修正后的
mysql_config_editor命令(去掉 SSL 选项):1
2
3
4mysql_config_editor set --login-path=local \
-h 127.0.0.1 \
-u mvp \
-p- 执行后会提示输入密码(
123123),输入即可,存储加密信息到~/.mylogin.cnf --login-path=local是自定义的登录路径名称,可以根据需要更改(例如prod、dev)。- 输入密码时会提示你交互式输入。
- 执行后会提示输入密码(
使用
mysql客户端连接时指定 SSL 参数:1
2
3
4mysql --login-path=local \
--ssl-ca=/var/lib/mysql/ca.pem \
--ssl-cert=/var/lib/mysql/client-cert.pem \
--ssl-key=/var/lib/mysql/client-key.pem
这样,mysql_config_editor 只负责存储基本连接信息,而 SSL 配置在实际连接时由 mysql 客户端处理。
方法 2:直接在 MySQL 配置文件中设置 SSL
如果你不想每次连接都手动指定 SSL 参数,可以将 SSL 配置写入 MySQL 客户端的配置文件(通常是 ~/.my.cnf)。
使用
mysql_config_editor配置登录路径(同上):1
2
3
4mysql_config_editor set --login-path=local \
-h 127.0.0.1 \
-u mvp \
-p编辑
~/.my.cnf文件,添加 SSL 配置:1
2
3
4[client]
ssl-ca=/var/lib/mysql/ca.pem
ssl-cert=/var/lib/mysql/client-cert.pem
ssl-key=/var/lib/mysql/client-key.pem连接时只需使用:
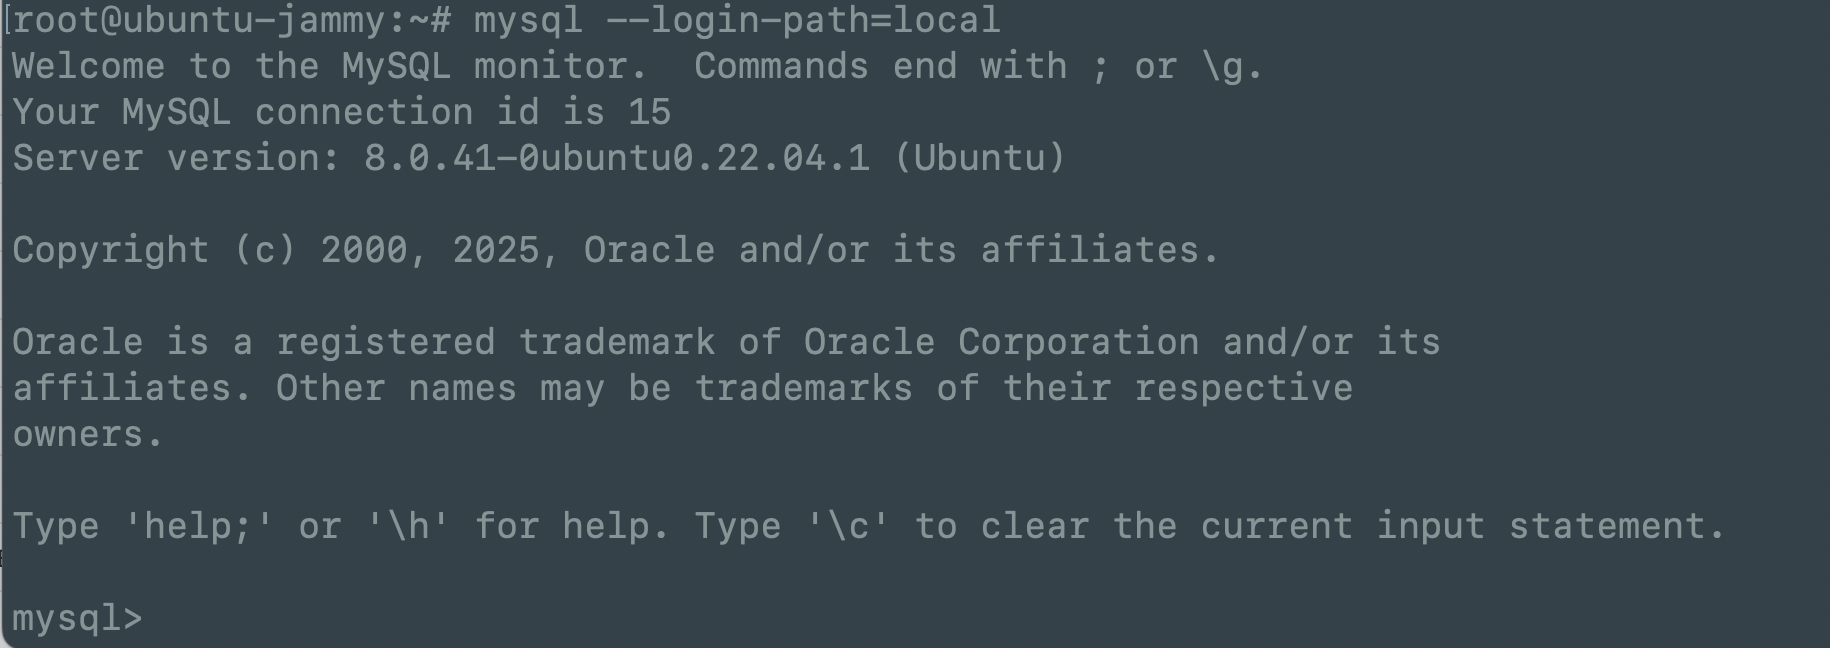
1
mysql --login-path=local
这样,SSL 配置会被自动应用。
验证修复
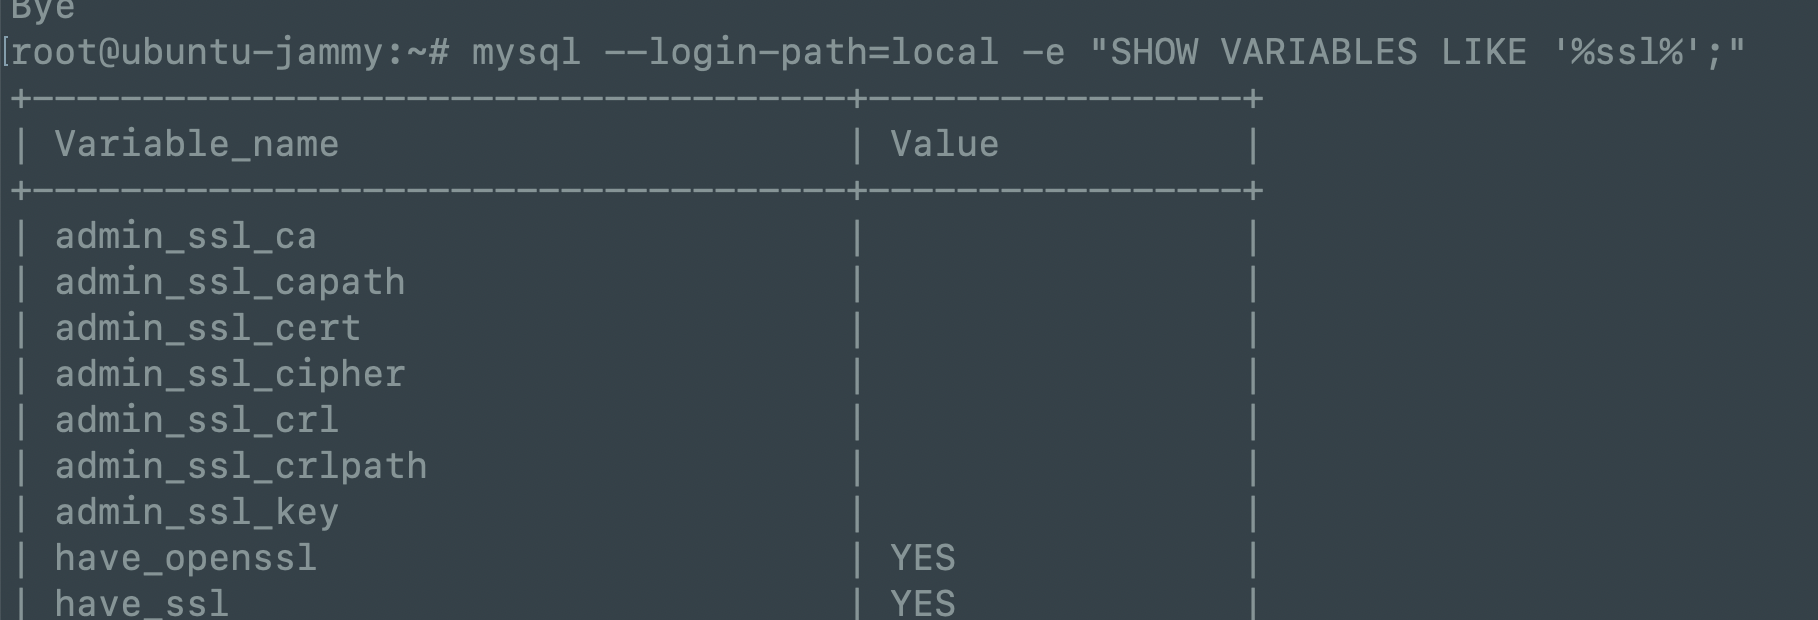
1.运行以下命令检查配置是否生效:
1 | mysql --login-path=local -e "SHOW VARIABLES LIKE '%ssl%';" |
如果配置正确,你应该看到类似以下输出:
Variable_name       Value
------------        -----
have_openssl        YES
have_ssl            YES
ssl_ca              /var/lib/mysql/ca.pem
ssl_cert            /var/lib/mysql/client-cert.pem
ssl_key             /var/lib/mysql/client-key.pem
2.注意点
mysql_config_editor不支持--ssl-ca等选项,因此需要移除这些参数。- SSL 配置可以通过
mysql客户端命令行参数或配置文件(~/.my.cnf)实现。 - 根据你的需求选择 方法 1(灵活但需手动指定)或 方法 2(自动应用但需编辑配置文件)。
3.mysql_config_editor –help
//mysql_config_editor --help
root@ubuntu-jammy:~# mysql_config_editor --help
mysql_config_editor  Ver 8.0.41-0ubuntu0.22.04.1 for Linux on x86_64 ((Ubuntu))
Copyright (c) 2012, 2025, Oracle and/or its affiliates.

Oracle is a registered trademark of Oracle Corporation and/or its
affiliates. Other names may be trademarks of their respective
owners.

MySQL Configuration Utility.
Usage: mysql_config_editor [program options] [command [command options]]
  -#, --debug[=#]     This is a non-debug version. Catch this and exit.
  -?, --help          Display this help and exit.
  -v, --verbose       Write more information.
  -V, --version       Output version information and exit.

Variables (--variable-name=value)
and boolean options {FALSE|TRUE}  Value (after reading options)
--------------------------------- ----------------------------------------
verbose                           FALSE

Where command can be any one of the following :
       set [command options]     Sets user name/password/host name/socket/port
                                 for a given login path (section).
       remove [command options]  Remove a login path from the login file.
       print [command options]   Print all the options for a specified
                                 login path.
       reset [command options]   Deletes the contents of the login file.
       help                      Display this usage/help information.


//mysql_config_editor set --help
root@ubuntu-jammy:~# mysql_config_editor set --help
mysql_config_editor  Ver 8.0.41-0ubuntu0.22.04.1 for Linux on x86_64 ((Ubuntu))
Copyright (c) 2012, 2025, Oracle and/or its affiliates.

Oracle is a registered trademark of Oracle Corporation and/or its
affiliates. Other names may be trademarks of their respective
owners.

MySQL Configuration Utility.

Description: Write a login path to the login file.
Usage: mysql_config_editor [program options] [set [command options]]
  -?, --help          Display this help and exit.
  -h, --host=name     Host name to be entered into the login file.
  -G, --login-path=name
                      Name of the login path to use in the login file. (Default
                      : client)
  -p, --password      Prompt for password to be entered into the login file.
  -u, --user=name     User name to be entered into the login file.
  -S, --socket=name   Socket path to be entered into login file.
  -P, --port=name     Port number to be entered into login file.
  -w, --warn          Warn and ask for confirmation if set command attempts to
                      overwrite an existing login path (enabled by default).
                      (Defaults to on; use --skip-warn to disable.)

Variables (--variable-name=value)
and boolean options {FALSE|TRUE}  Value (after reading options)
--------------------------------- ----------------------------------------
host                              (No default value)
login-path                        client
user                              (No default value)
socket                            (No default value)
port                              (No default value)
warn                              TRUE
- 查看配置(可选,用于确认):
1
mysql_config_editor print --all
root@ubuntu-jammy:~# mysql_config_editor print --all
[local]
user = "mvp"
password = *****
host = "127.0.0.1"
- 使用该配置登录:不需要额外指定 SSL 参数,工具会自动加载。
1
mysql --login-path=local
优点:
- 密码和证书路径被加密存储在
~/.mylogin.cnf中,安全性更高。 - 可以为不同主机或环境创建多个登录路径。
方法 3: 设置环境变量
MySQL 支持通过环境变量指定默认的 SSL 参数,虽然这种方法不如配置文件常用,但也是一种选择。
在 shell 中设置环境变量:
1
2
3
export MYSQL_SSL_CA=/path/to/ca.pem
export MYSQL_SSL_CERT=/path/to/client-cert.pem
export MYSQL_SSL_KEY=/path/to/client-key.pem将这些命令添加到
~/.bashrc或~/.zshrc中,使其永久生效:1
2
3
4echo 'export MYSQL_SSL_CA=/path/to/ca.pem' >> ~/.bashrc
echo 'export MYSQL_SSL_CERT=/path/to/client-cert.pem' >> ~/.bashrc
echo 'export MYSQL_SSL_KEY=/path/to/client-key.pem' >> ~/.bashrc
source ~/.bashrc测试登录:
1
mysql -u username -p
注意
- 环境变量的优先级低于命令行参数和配置文件。
- 不推荐在共享环境中使用,因为环境变量可能被其他用户看到。
验证 SSL 配置生效情况
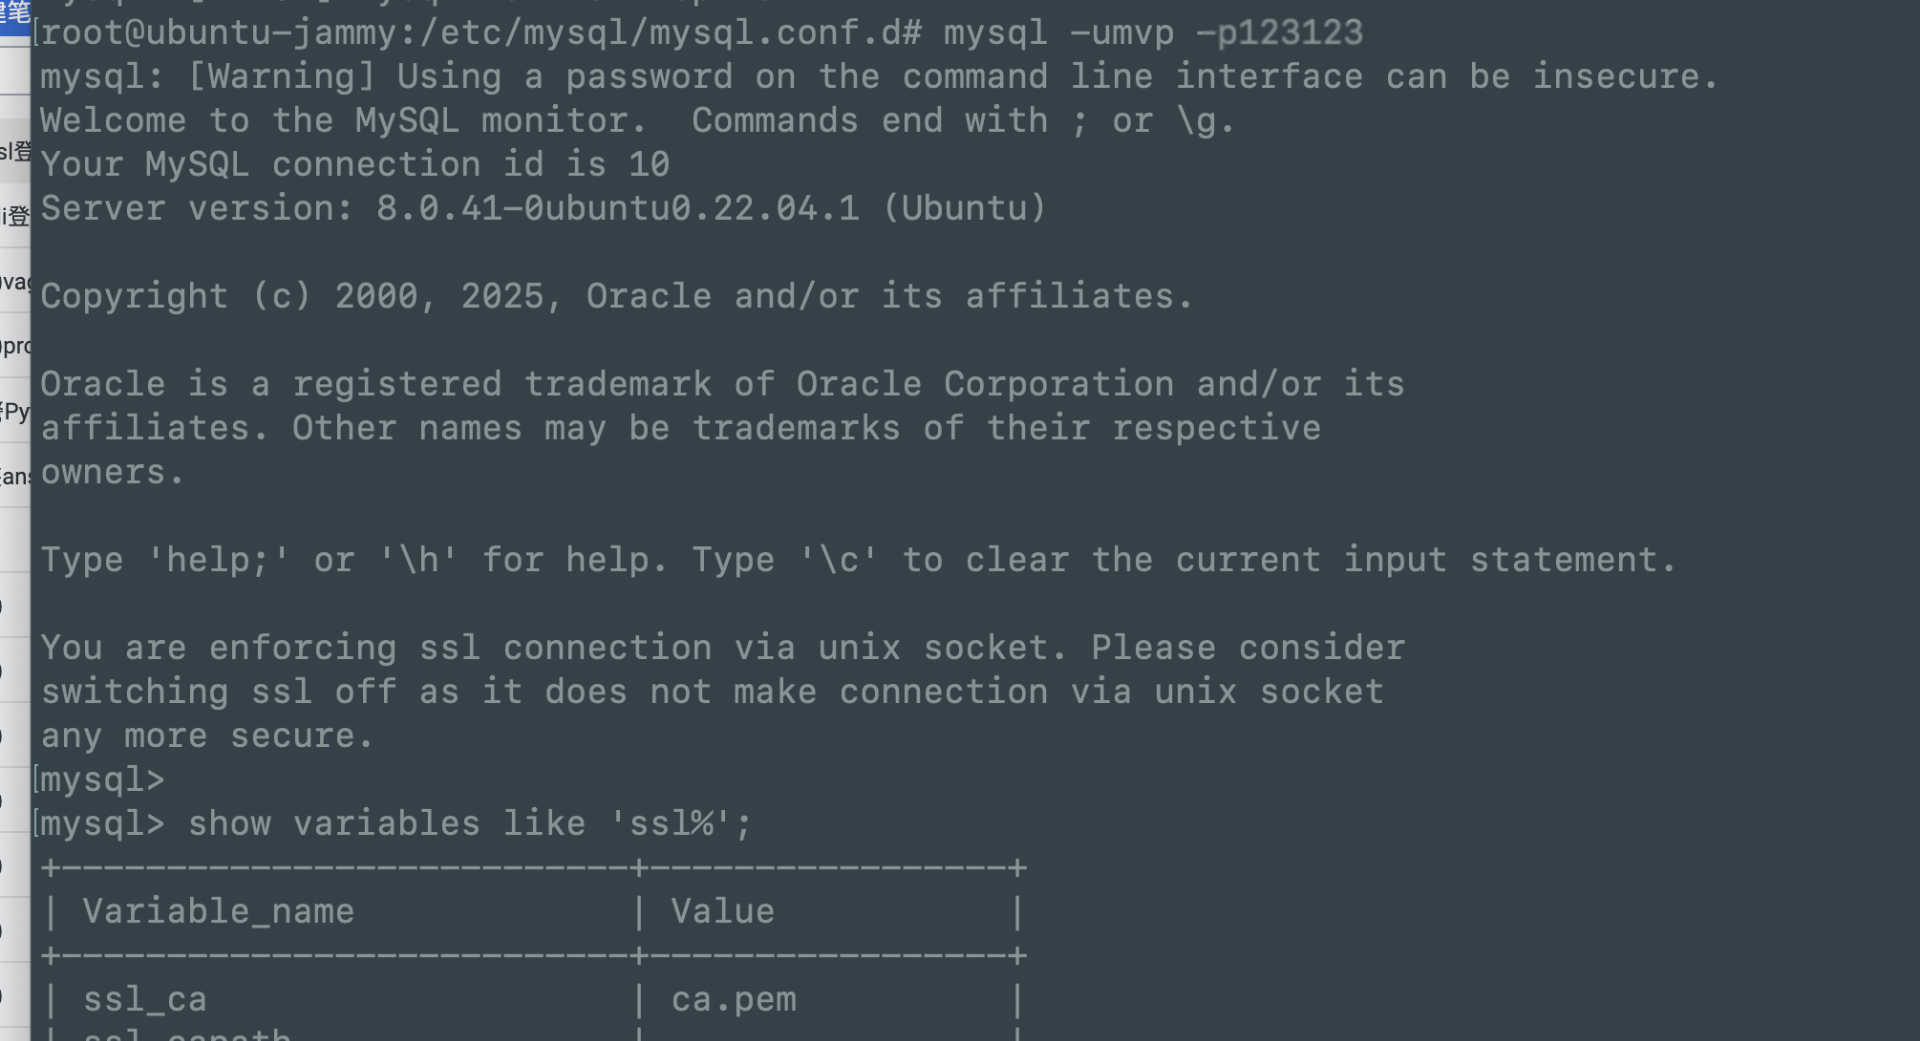
登录后,运行以下命令确认 SSL 已启用:
1 | show variables like '%ssl'; |
检查 ssl_ca、ssl_cert 和 ssl_key 是否指向你设置的路径。
或者运行:
1 | STATUS; |
看 SSL 一行是否显示类似 Cipher in use is ...,表示 SSL 连接成功。
mysql> status;
--------------
mysql  Ver 8.0.41-0ubuntu0.22.04.1 for Linux on x86_64 ((Ubuntu))

Connection id:		15
Current database:
Current user:		mvp@127.0.0.1
SSL:			Cipher in use is TLS_AES_256_GCM_SHA384
推荐方案
- 日常使用:使用
~/.my.cnf,简单直观。 - 安全性要求高:使用
mysql_config_editor,因为它加密存储敏感信息。 - 临时测试:使用环境变量